As computers continue to become an essential part of our daily lives, the need for them to function efficiently is increasing.
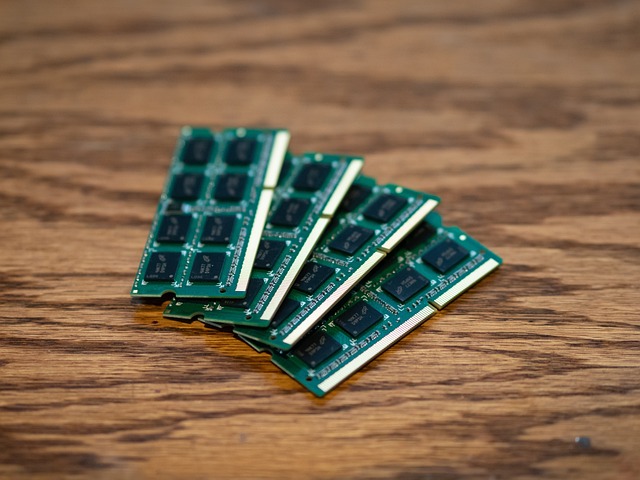
One crucial component of a computer that impacts its performance is the RAM. Random Access Memory or RAM is responsible for temporarily storing data that the computer processor needs to access quickly.
When the RAM is faulty or not working correctly, it can cause the computer to slow down or crash, leading to frustration and lost productivity.
Therefore, it is essential to test your computer RAM to ensure that it is functioning correctly. In this blog post, I will outline how to test your computer RAM.
Understand the symptoms of a faulty RAM:
Before testing your computer RAM, it is crucial to understand the signs of faulty RAM. These include:
- The computer crashes or freezes frequently
- The computer shows a blue screen of death (BSOD)
- Programs take longer to load or run slower than usual
- The computer restarts itself unexpectedly
If you experience any of these issues, it is essential to test your computer RAM.
Use the Windows Memory Diagnostic tool:
Windows has a built-in memory diagnostic tool that can help you test your computer RAM. To use this tool:
- Press the Windows key + R to open the Run dialog box.
- Type “mdsched.exe” and press Enter.
- Choose whether you want to restart the computer and run the tool immediately or schedule it to run the next time the computer starts.
- The tool will run several tests on your RAM and inform you of any issues.
Use the Memtest86 tool:
Memtest86 is a popular third-party tool for testing computer RAM. To use this tool:
- Download Memtest86 from the official website.
- Burn the ISO image to a CD or USB drive.
- Insert the CD or USB drive into the computer and restart it.
- Boot from the CD or USB drive.
- Memtest86 will run several tests on your RAM and inform you of any issues.
Use the Windows Resource Monitor:
The Windows Resource Monitor can also help you identify any issues with your computer RAM. To use this tool:
- Press the Ctrl + Shift + Esc keys to open the Task Manager.
- Click on the Performance tab.
- Click on the Memory tab.
- Check the graphs to see if there are any issues with the RAM.
Use the Windows Event Viewer:
The Windows Event Viewer can help you identify any issues with your computer RAM. To use this tool:
- Press the Windows key + X and select Event Viewer.
- Expand Windows Logs.
- Click on System.
- Look for any errors related to the RAM.
Check the RAM physically:
If you suspect that the RAM may be faulty, you can check it physically. To do this:
- Turn off the computer and unplug it from the power source.
- Remove the RAM modules from the computer.
- Check for any physical damage, such as cracks or missing pins.
- Clean the RAM modules with a soft, dry cloth.
- Reinsert the RAM modules into the computer.
Test the RAM with different modules:
If you have multiple RAM modules installed, you can test them individually to identify which one is faulty. To do this:
- Turn off the computer and unplug it from the power source.
- Remove all but one RAM module from the computer.
- Turn on the computer and test it.
- Repeat the process with each RAM module until you identify the faulty one.
Conclusion
Testing your computer RAM is crucial to ensure that your computer is functioning correctly. By following the steps outlined in this blog post, you can identify any issues with your RAM and take the necessary steps to fix them.
Remember, if you are unsure or uncomfortable with testing your computer RAM, seek the assistance of a professional.
